Craft Room Reveal!
####Edited to Add Video####
Friends! Welcome to my Ikea craft room reveal!!! (not sponsored!) We’ve lived in our home for 22 years, and for the past 14 of those years I’ve been a Stampin’ Up! demonstrator. I started off with a few baskets to hold my supplies, grew into an armoire in the dining room, moved to a sectioned-off area in the family room, and now, FINALLY, I’ve arrived!!!!

Goals:
- keep the room available for multi-generational visits (a.k.a. a bed for my daughter – whose bedroom it was until she moved to college – and her future husband and kids)
- an area for photos and videos
- everything in arm’s reach
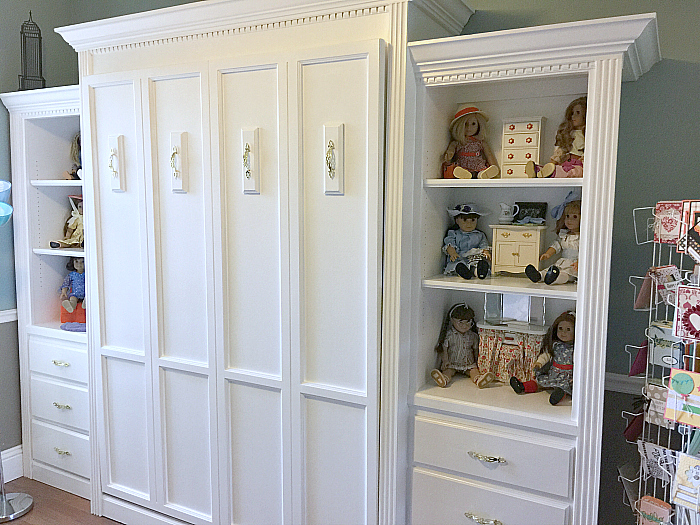
- have a place to display our American Girl dolls
How I Achieved My Goals:
- install a Murphy bed with shelves and drawers for sleepover purposes
- install desk space long enough to have room for stamping, die-cutting, and sewing
- install wall shelves to hold card stock and the items I use every day
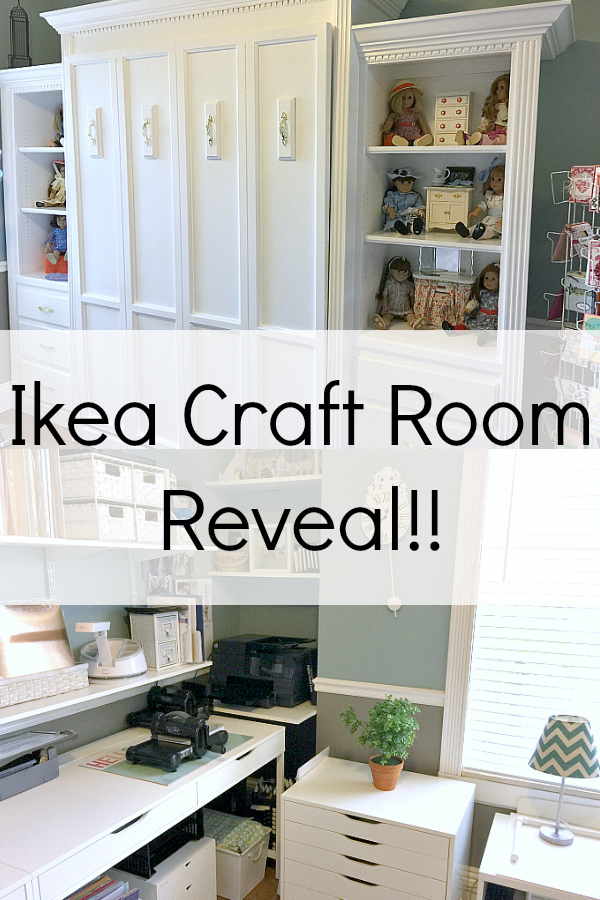
One wall is dedicated to the bed, American Girl dolls, and my card rack:
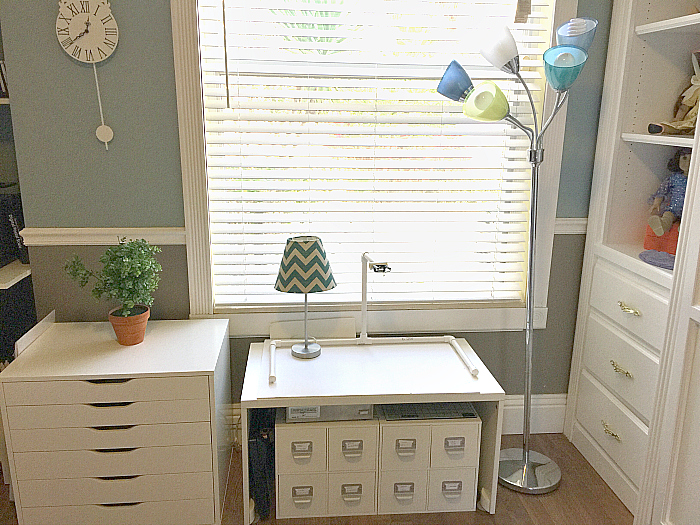
There is a dedicated space under the window for photos and videos. I found the table at Goodwill (I wasn’t even looking for it) for six bucks.
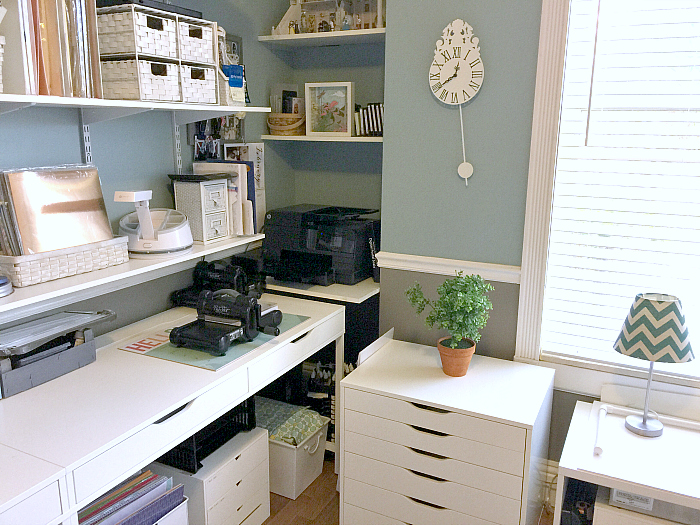
I made room for the printer and I have a dedicated space for die-cutting and sewing:
Most importantly, the stamping area!
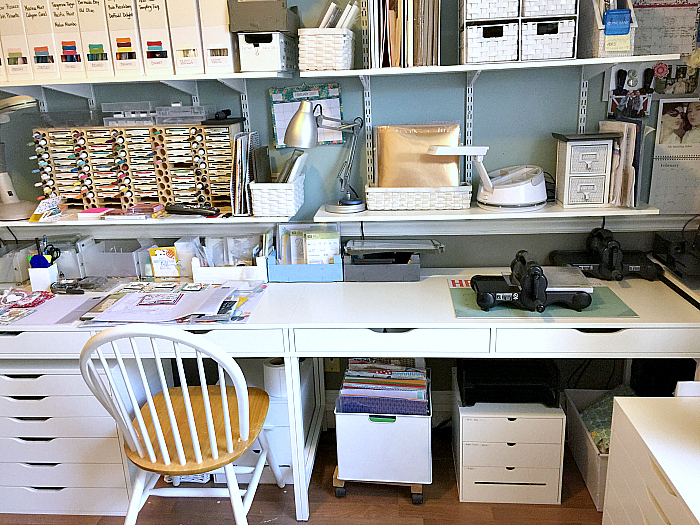
Let me break down the different features:
- I had all of the bins and baskets. To make the space less cluttered, I spray-painted all of the items white.
- We purchased the shelves at Lowe’s. Floating shelves would have been cooler, but they would not have been functional. Crafting is a fluid way of life…supplies are always changing and coming and going. As a result, I needed shelves that I would be able to adjust based on my products. Floating shelves are stationary, so they aren’t useful to a craft room.
- The key for my craft room was to make the wall space functional. I needed to preserve the floor space for the queen Murphy bed, so by using the wall space, the floor space is open.
- Here are the Ikea items I used. These items are a tad bit more expensive than the storage units you can purchase at hobby stores, but the quality is far superior.
I’d love to see how you organize your crafting space! Share a link to your blog below so we can see where you create!!
P.S. Now that my craft room dream has come true, does that mean I can delete my “Craft Room Ideas” Pinterest board???

This is what I want to do for my room, more storage, like the white look too! Where do you store your punches? What color of blue are your walls too, please.
You did a fantastic job with your new “craft wall”! The Murphy bed was an excellent choice. I have about the same amount of space dedicated to my crafting (I have a whole room, but the gigantic roll-top desk I just “had to have,” in my pre paper crafting days, takes up a whole wall.
Having this great space, where you are organized and can get to everything easily, will definitely increase your creativity and productivity…it did for me. There is nothing better in a craft room than organization! Congratulations!
It’s so fun! We used the Murphy bed for the first time last weekend and it worked out perfectly. It took many years for this dream to come true!!