

If you haven’t yet ordered one of the many adorable personalized name stamps from Stampin’ Up!, please hurry and order a bunch now before they retire on June 1st! There are so many fun projects you can make with the personalized name stamps. Below are a few examples.
Ways to use personalized name stamps:
1) Do you own a business where you have to deposit checks the old-fashioned way? If so, order a three-line stamp with your business name, “for deposit only,” and your bank account number. Be sure to order a Basic Black Classic Pad, too, before they are gone for good. The Basic Black Classic Ink Pad is also retiring. (But don’t fret! You will LOVE the replacement!)
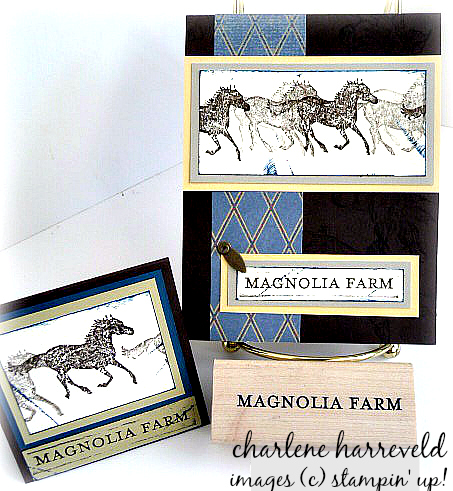
2) Speaking of owning a business, order a stamp with your businesses’ name, and create a set of notecards to promote your brand. I made this set of notecards and gift tags for my aunt a few years ago. She owns a horse farm named “Magnolia Farms.” Along with the cards, I gave her the personalized rubber stamp and a Basic Black Classic Pad so that she can continue to use the stamp on other projects.
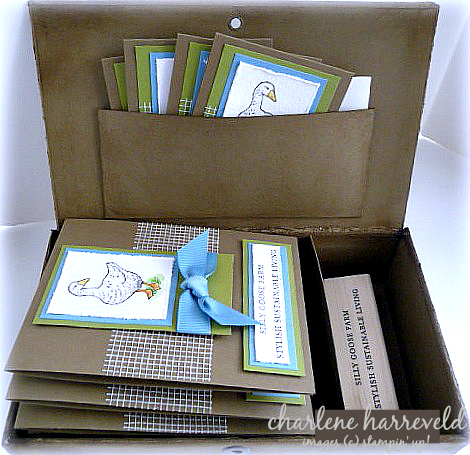
3) I also created a set for my friend who lives on a farm in an old farmhouse that she lovingly refers to as “Silly Goose Farm.” I covered a cardboard craft-store box with Soft Suede Cardstock and made a divider on the inside to separate the cards and the stamp. I created a pocket on the box lid to hold the gift tags.
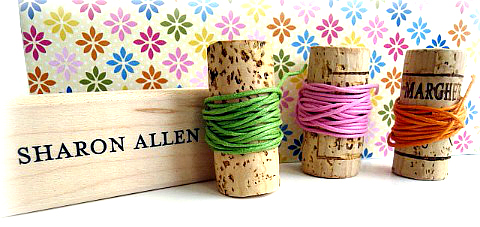
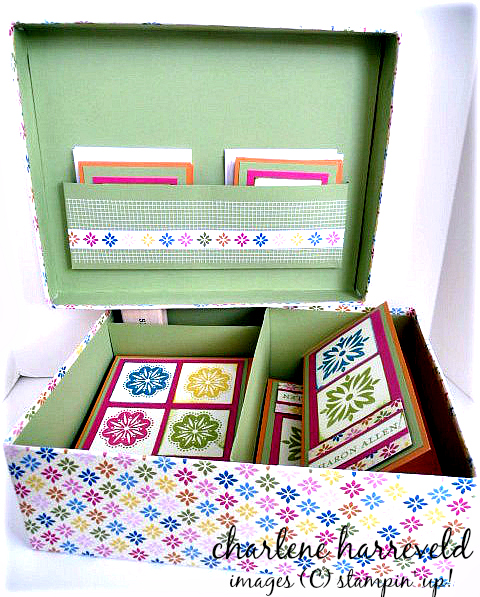
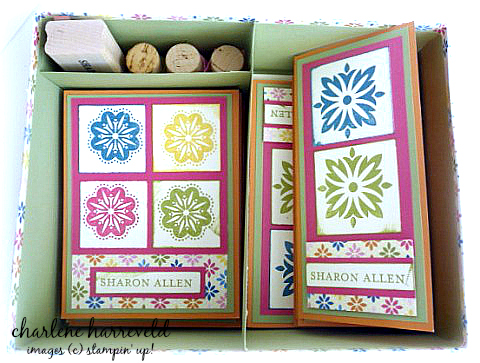
4) I didn’t stop there! Once you start making these gift sets, it gets addicting! I ordered a personalized rubber stamp for my best friend, Sharon, and made a box of personalized note cards for her in three different sizes. I included the stamp along with some twine wrapped around wine corks to add a little flair to the box.

How to Mount Your Rubber Stamp
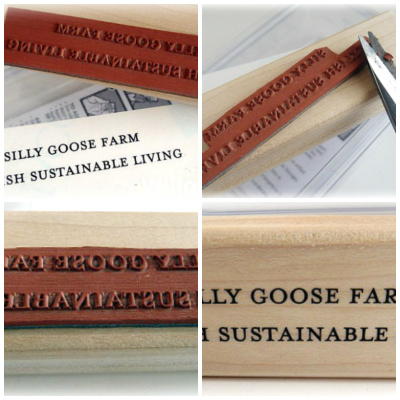
Your personalized rubber stamp will come unmounted in a plastic storage box, along with a wooden block and a clear label with the name of your stamp. All you need to do is trim off the excess rubber, peel off the backing, and stick the rubber to the wooden block. Stick the clear label to the other side of the block, and you’re done. That is all there is to it!
How to Order Your Personalized Rubber Stamp
Just click on one of the images in the slideshow below to order your personalized rubber stamp. I you need further assistance, just send an email to stampinwithcharlene@gmail.com. Have fun! Let me see your projects. Leave a link to your blog in the comments section.