Decorative Three-Ring Binder
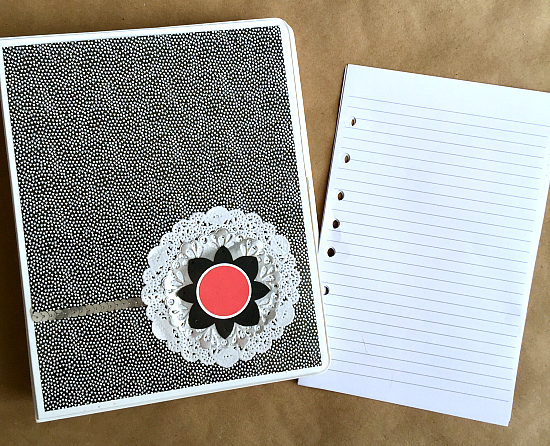
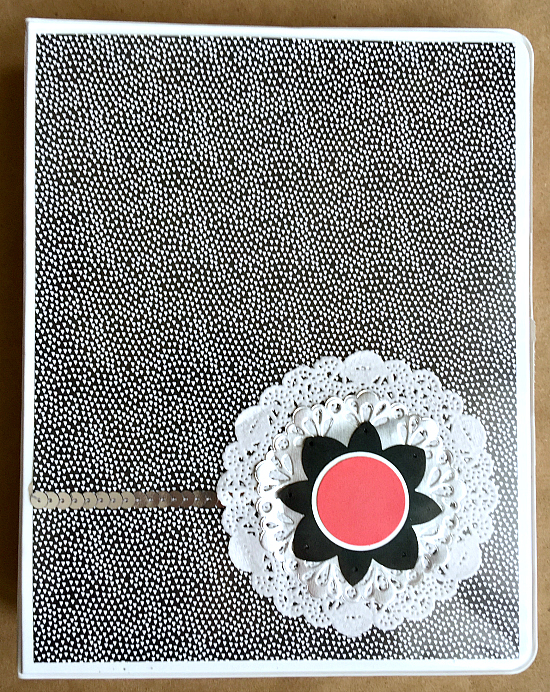
If you are anything like me, you have a million different things going on at the same time. I have a pile a mile high of notes in about twenty different notebooks…no kidding. I decided to condense everything into one three-ring binder to keep in my purse so that I can have my notes with me all the time. Of course I couldn’t use just any three-ring binder; I had to make myself a decorative three-ring binder. Since these are the final few days of the 2015-2016 Annual Catalog, I decided to use the retiring Everyday Chic Designer Series Paper to decorate the binder. I filmed myself making the decorative three-ring binder so that you could see for yourselves just how easy it is to make, but for some reason my computer keeps telling me that my files are corrupted. Go figure. I’ll try to do my best to write the directions while I uncorrupt my files.

- Start with a binder that has the plastic “clear view” sleeve
- Measure the size of the clear sleeve
- Cut the Designer Series Paper 1/4″ shorter than the size of the sleeve
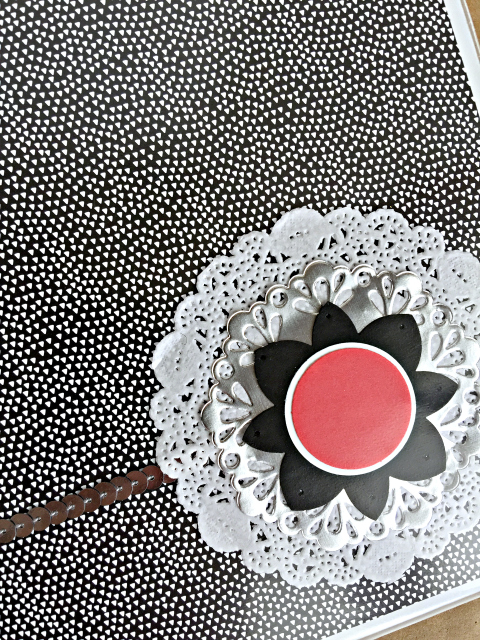
- Decorate with embellishment, but be sure to use flat items
- That’s it! Soooo easy, right???

In addition to running my Stampin’ Up! business, I am also heavily involved with Cosmetics for a Cause, a non-profit charity that collects and donates cosmetics to women and girls in need. I have so many notes and paperwork and it sure is nice to finally have a “classy catch-all” binder to keep everything organized. You should gather up your retiring Stampin’ Up! Designer Series Paper and make some decorative three-ring binders, too. You can make the small size (7″ x 9″) or the regular size. The best part is that you can use any embellishments that you want to make your decorative three-ring binder all your own to fit your personal style.


