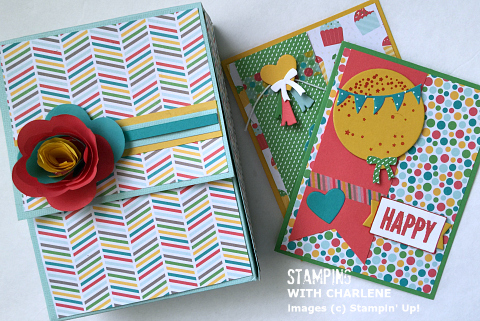
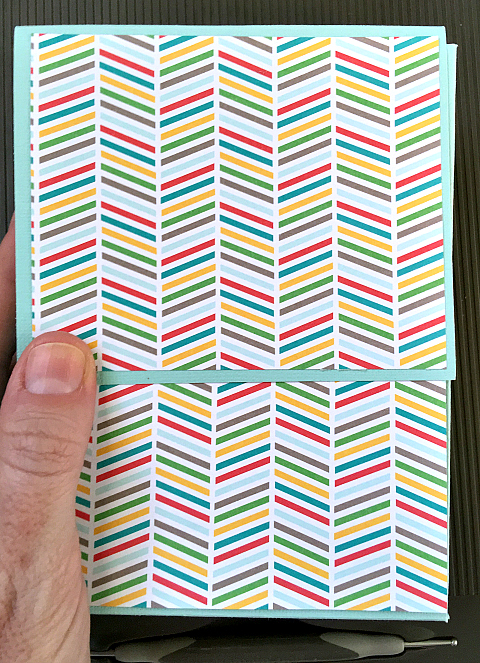
The stationery box that I first showed you HERE is so easy to make! I promise that once you start, you will want to make one for each of your friends and give them as gifts.
Supplies Needed:
- 2 Sheets of 12 x 12 Cardstock to coordinate with the Designer Series Paper of Your Choice
- Designer Series Paper (I am using the Cherry on Top Designer Series Paper Stack that will be available to order on June 2nd)
- Fast Fuse Adhesive
- Stampin’ Trimmer
- Simply Scored
- Paper Snips
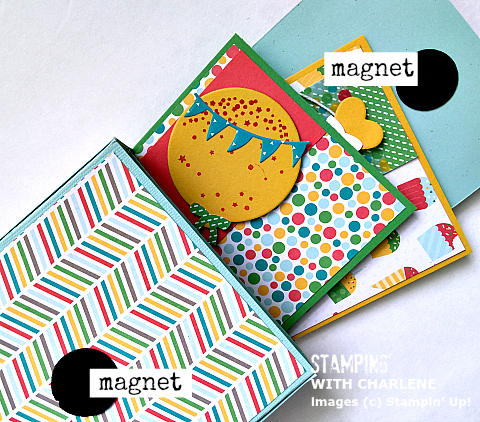
- Thin magnet to use as closure
Measurements & Scoring for the 12 x 12 Cardstock:
STEP ONE | THE BOXES:
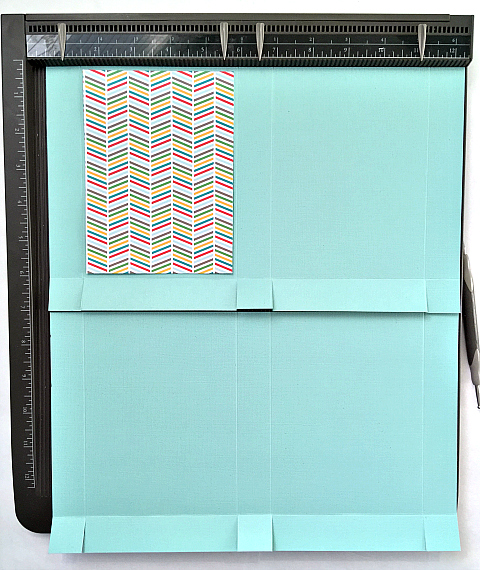
- Cut two pieces of cardstock 12″ x 7″
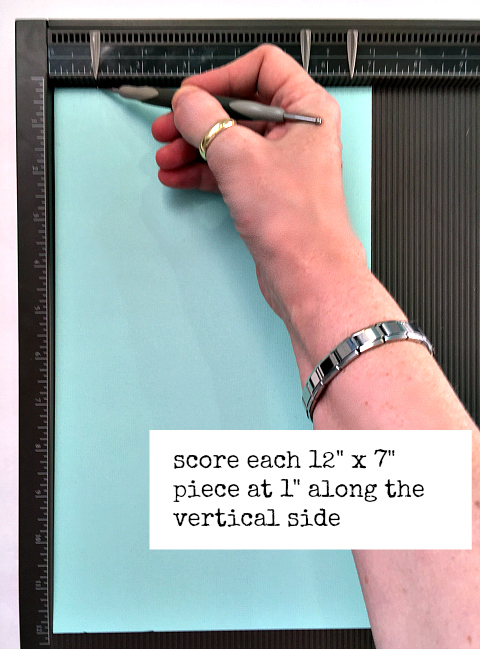
- Score the vertical side of both pieces at 1″
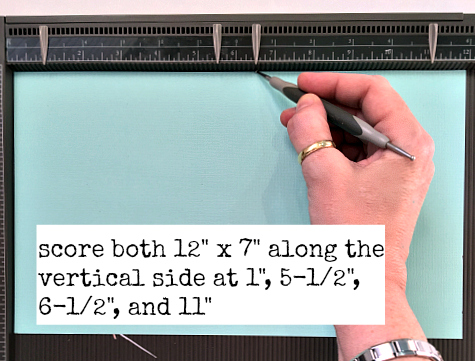
- Score the horizontal side of each piece at 1″, 5-1/2″, 6-1/2″, and 11″
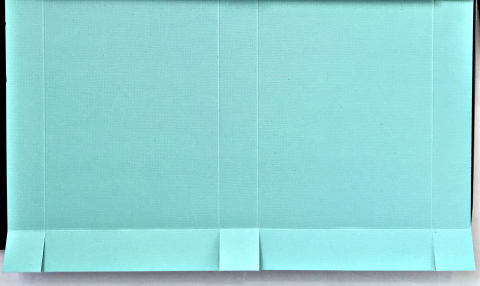
- Snip the 1″, 5-1/2″, 6-1/2″, and 11″ score lines up to the vertical 1″ score line on both pieces of 12″ x 7″ of cardstock
- Cut one piece of Designer Series Paper 4-1/4″ x 5-3/4″
- Adhere DSP to only one side of one piece of cardstock
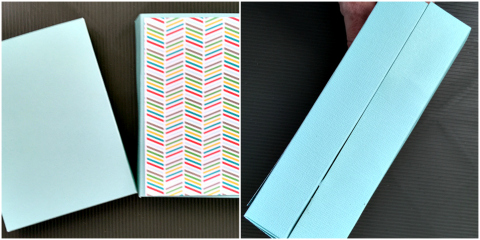
- Assemble both boxes with Fast Fuse Adhesive
- Connect the boxes together with Fast Fuse Adhesive
STEP TWO | THE BOX COVER:
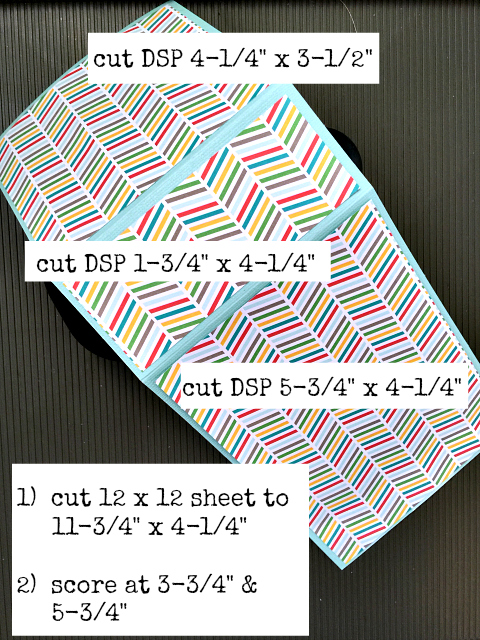
- Cut one piece of 12″ x 12″ cardstock to 11-3/4″ x 4-1/2″
- Score at 3-3/4″ and 5-3/4″
- Cut three pieces of Designer Series Paper:
- 4-1/4″ x 3-1/2″
- 4-1/4″ x 1-3/4″
- 4-1/4″ x 5-3/4″
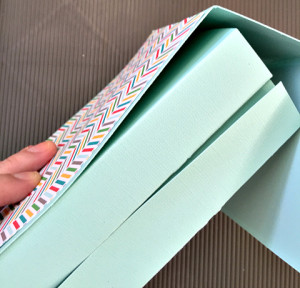
- Adhere the box cover to the side of the assembled box that doesn’t have the DSP on it
STEP THREE | THE SIDES OF THE BOX:
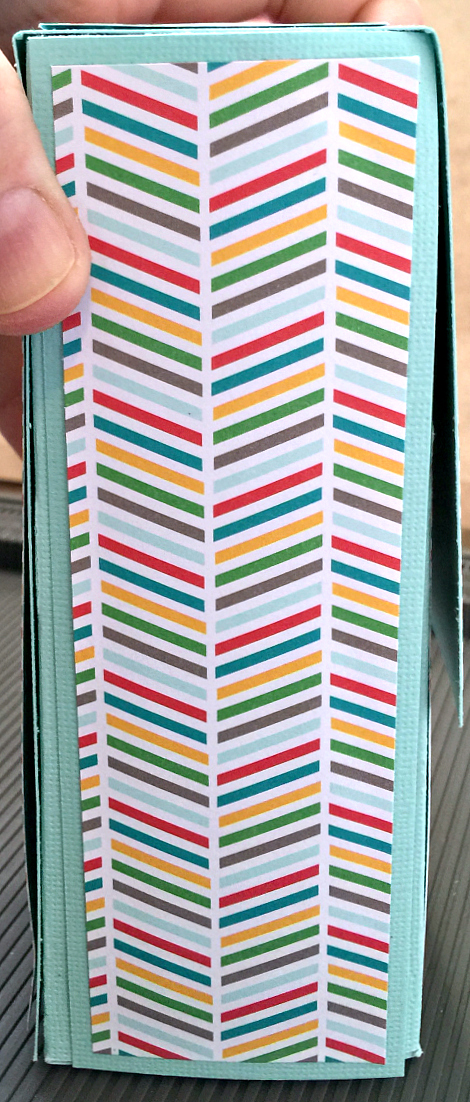
- Cut two pieces of cardstock 2″ x 6″
- Cut two pieces of DSP 1-3/4″ x 5-3/4″
- Cover each piece of cardstock with the DSP
- Adhere each piece of 2″ x 6″ cardstock to each side of the box (now the box looks nice and clean and crisp!)
To keep the box lid closed, I punched a circle from a thin sticky-back magnet sheet.
THAT’S IT!!! YOU DID IT!!!!!!!
Now all you have to do is decorate the box and make the greeting cards! We’ll talk about that in tomorrow’s post. In the meantime, have fun making the box. If you have any questions, leave comment or email me at stampingwithcharlene@gmail.com.
*****
Don’t forget to take a look at this week’s Weekly Deals. Click HERE to order!
