Stationery Box DIY
Join me this Tuesday, September 15th at 8pm on my YouTube channel where we can watch together as I show you how to make a fun stationery box. My stationery box DIY project is really easy and makes the perfect addition to a set of handmade greeting cards.
Template and Tutorial
YouTube Premiere broadcast details:
- Tuesday, September 15th
- 8pm eastern
- Stamping with Charlene YouTube channel
- Watch with me LIVE, comment, ask questions
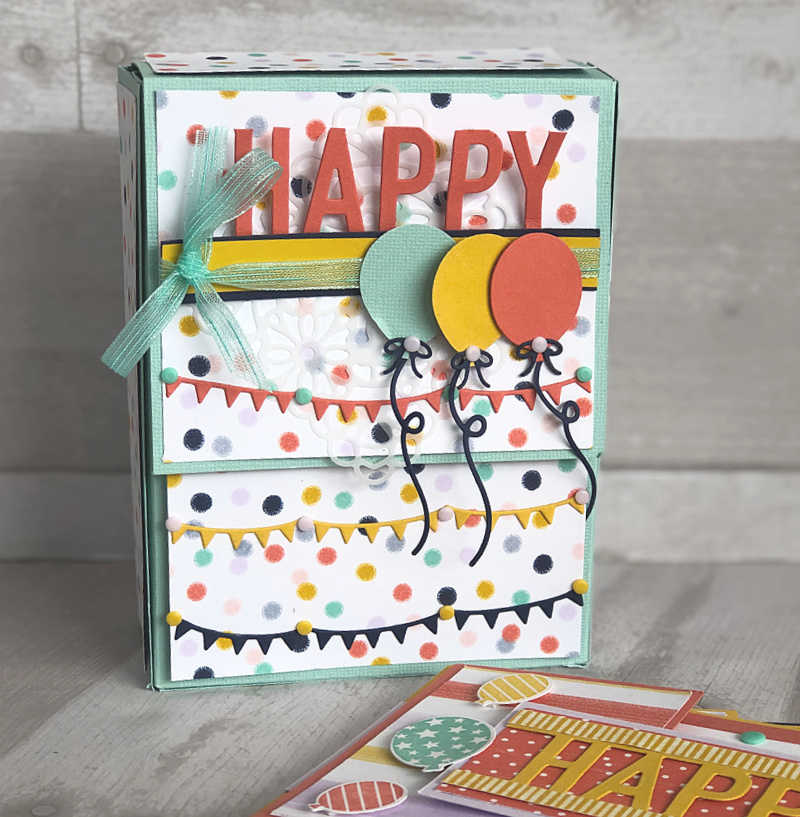
The template and measurements will be available on the video on YouTube. I’ll walk you through how to make the box step by step. For my stationery box, I used the Playing with Patterns Designer Series Paper so that my box would coordinate with the “So Much Happy” cards I made HERE and HERE.
Let’s Look at the Box
Isn’t it so fun?! When you see how easy it is to make, you will want to make several!!

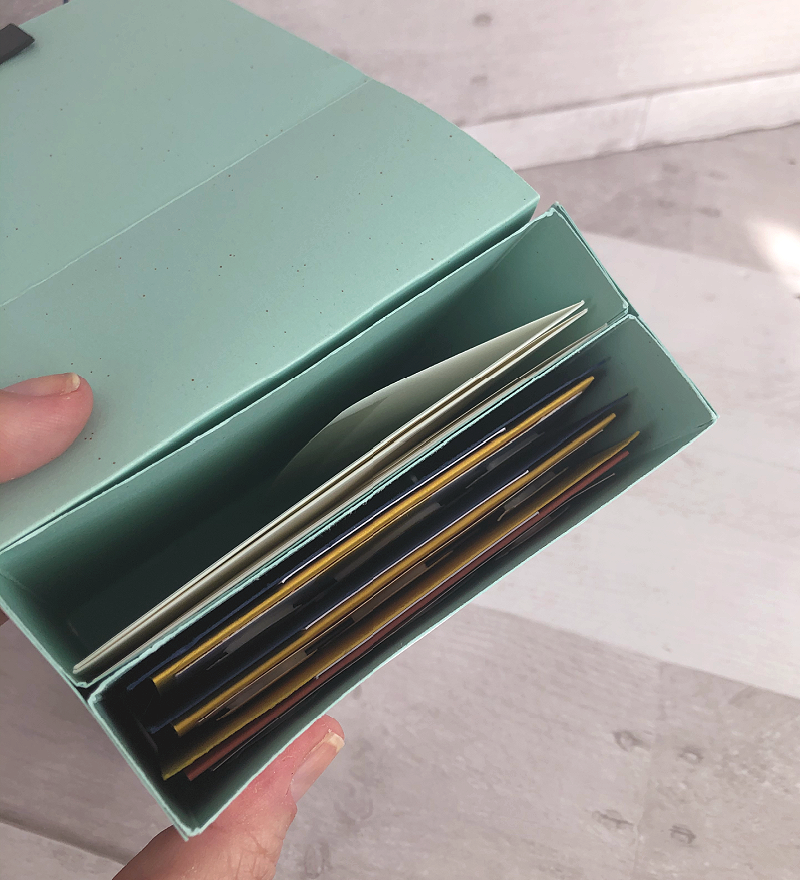
The box has a divider inside so you can separate the cards and envelopes, or put cards and envelopes in one part and pens and postage stamps in the other part.

12 x 12 Cardstock
To make the DIY stationery box, you’ll need two pieces of 12 x 12 cardstock. Stampin’ Up! offers 12 x 12 cardstock in color families. If you are going to use the Playing with Patterns Designer Series Paper to make your stationery box or if you would like to make more than one box, I suggest you purchase either the Subtles 12 x 12 cardstock or the Brights 12 x 12 cardstock. These options offer the most colors that will coordinate with the colors in the Playing with Patterns DSP.
See you Tuesday on YouTube!!
Supplies
The supplies I used to make the stationery box are listed below.


